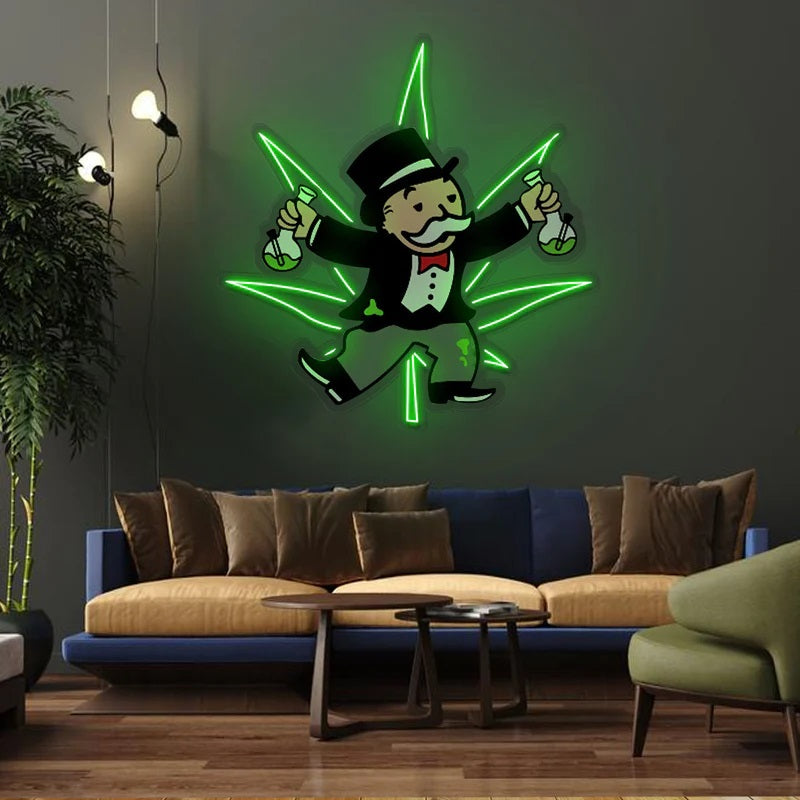
Neon Sign Hanging Kit: How to Use It Safely
So, you’ve got a neon sign, and now you’re wondering: “How do I actually hang this thing up without messing it up?” That’s where a neon sign hanging kit comes in.
In this guide, I’ll walk you through everything you need to know about neon sign hanging kits.
What’s Inside a Neon Sign Hanging Kit?
Alright, let’s open up the box together. Here’s what you’ll usually find inside a neon sign hanging kit:
1. Chains or Steel Wires
Think of chains or steel wires as the “muscles” of your setup.
- Purpose: They carry the weight of your neon sign, holding it in place.
- How to use: Clip one end to the sign (most neon signs have pre-drilled holes), and the other to hooks on your wall or ceiling. Chains are stronger and give an industrial vibe, while steel wires are thinner and practically invisible. Perfect if you want a floating look.

2. Hooks (Ceiling Hooks or Wall Hooks)
Hooks are the “anchors” of the whole setup.
- Purpose: They secure the chains or wires to your wall or ceiling.
- How to use: For drywall, you’ll need anchors first (to stop them from slipping out). For wood or brick, just screw them in directly. Once the hooks are solid, your chains or wires simply hang from them.

3. S-Hooks or Carabiner Clips
S-hooks or carabiner clips are the “connectors.”
- Purpose: They make attaching and adjusting your sign quick and easy.
- How to use: Hook them through the chain/wire and into the neon sign holes.
Bonus: if you want to change height later, just move the clip to another chain link. No re-drilling required.

4. Wall Screws and Anchors
Wall screws and anchors are not glamorous, but essential.
- Purpose: Keep your hooks from wobbling or tearing out of the wall.
- How to use: Drill a small hole, pop in the anchor, then screw in your hook or screw. Without anchors, heavy signs will eventually loosen and fall (trust me, I’ve seen it happen at more than one late-night bar install).

5. Adhesive Pads (Optional in Some Kits)
Adhesive pads are handy for lightweight LED neon signs.
- Purpose: Let you stick the sign directly to the wall without drilling.
- How to use: Peel, stick, and press firmly. Works best on smooth surfaces like glass or tile. Just don’t trust them with heavy glass neon. Adhesives aren’t built for that job.

6. Cable Clips or Ties
Cable clips or ties are the unsung heroes of a clean setup.
- Purpose: Tame the power cord so it doesn’t dangle messily.
- How to use: Bundle the excess cord and run it neatly along the wall or behind furniture. A small detail, but it takes your sign from “DIY project” to “professionally mounted.”

Step-by-Step: How to Use a Neon Sign Hanging Kit
Hanging a neon sign isn’t rocket science, but there is a right way to do it so your sign doesn’t end up crooked or, worse, on the floor. Here’s my tried-and-true process:
1. Choose Your Spot Wisely
- Pick a wall or ceiling that can handle the weight.
- Avoid damp spots (like directly above sinks). Moisture and electricity are not friends.
Pro tip: Plug in the sign first and hold it up where you want it. That way, you’ll know exactly how it looks before making holes.
2. Measure and Mark
- Use a tape measure to mark where the hooks or screws will go.
- Double-check that the spacing matches the holes on your neon sign’s backing.
- Don’t eyeball it. Crooked signs drive me (and most customers) crazy.
3. Prep the Hooks or Anchors
- For drywall: drill a hole, insert a wall anchor, then screw in the hook.
- For wood or studs: you can screw hooks directly without anchors.
- For concrete/brick: use a masonry bit and wall plugs.
Expert’s Note: The hook is only as strong as what it’s screwed into.

4. Attach the Chains or Wires
- Clip one end of the chain/wire to the neon sign’s mounting holes.
- Clip the other end to your installed hooks.
- Adjust the length until the sign sits level. (If it tilts, just move the clip a few links higher/lower.)
5. Secure the Power Cord
- Use cable clips or ties to run the cord neatly along the wall or ceiling.
- Keep it out of sight if you want a clean look, and out of reach if you’ve got pets.
6. Power It On & Check
- Plug it in and make sure the sign is level.
- Gently shake it (not hard, just a tap). If it wobbles too much, tighten your hooks or adjust the wires.
That’s it. Six steps, and you’re done. Once you’ve mounted a couple of these, it takes under 20 minutes. The first time might take you longer, but trust me: follow these steps, and your neon sign will look like it was installed by a pro.
For a more detailed walkthrough with visuals, check out our full guide on how to hang a neon sign.
Types of Kits Available
Now that you know what’s inside a kit, let’s talk about the different styles of hanging kits out there. Not all neon signs (or walls) are created equal, so the kit you choose really depends on where and how you want your sign to shine. After installing hundreds of these, here are the three main types I always see:
1. Wall-Mount Kits
These are the go-to if you want your neon sign sitting flush against a wall.
- What’s included: Screws, anchors, and sometimes adhesive pads.
- Best for: LED neon signs in bedrooms, offices, or event backdrops where drilling is okay.
Pro tip from me: If you’re renting and drilling is a no-go, look for kits with strong adhesive pads. Just remember. Adhesives are only safe for lightweight LED signs, not heavy glass ones.

2. Ceiling-Hanging Kits
This kit is all about drama. The floating sign looks.
- What’s included: Chains or steel wires, hooks, and S-clips.
- Best for: Shops, bars, cafes, or wedding venues where you want the sign visible from across the room.
Pro tip: Go with chains if your sign is heavy (like traditional glass neon). Wires are fine for LED neon signs. They’re strong enough, but keep things looking sleek.

3. Hybrid Kits (Wall + Ceiling Options)
Can’t decide? Some kits give you both.
- What’s included: A mix of wall screws, anchors, hooks, and either wires or chains.
- Best for: People who haven’t picked the perfect spot yet, or event planners who need flexibility.
Pro tip: I always recommend hybrid kits for first-time buyers. They give you options, and you won’t kick yourself later if you change your mind about placement.
Wall Mount vs Ceiling Hanging: Which One’s Better?
|
Feature |
Wall Mount |
Ceiling Hanging |
|
Look & Style |
Clean, classic, eye-level placement |
Floating effect, modern, eye-catching |
|
Best For |
Bedrooms, offices, storefront walls |
Open spaces, behind counters, high ceilings |
|
Visibility |
Great at eye level, straightforward |
Visible from multiple angles |
|
Ease of Install |
Simple, minimal tools needed |
More complex, needs extra hardware |
|
Flexibility |
Fixed once mounted |
Can hang at different heights, but harder to move |
|
Downsides |
Limited repositioning |
Ceiling drilling, more planning, not rental-friendly |
👉 Quick Tip: If you want something safe and simple, go wall mount. If you want a show-stopper vibe, ceiling hanging is worth the effort.
Can You DIY a Neon Sign Hanging Kit?
Short answer: yes, you can DIY a neon sign hanging kit… but should you? That depends on the type of neon sign you have and how much risk you’re willing to take.
I’ve seen people get creative. fishing line, adhesive wall hooks from the dollar store, even duct tape (please don’t). Sometimes it works, sometimes it ends with a broken sign and a very sad wallet. Here’s the real deal:
✅ When DIY Works
- For lightweight LED neon signs: These are made from flexible tubing, so they don’t weigh much. A couple of clear Command hooks or strong adhesive strips can hold them up just fine.
- For temporary setups: If it’s just for a party, wedding, or photoshoot, DIY hacks like fishing wire or zip ties can get the job done without drilling holes.
- For budget-conscious installs: If you’re just experimenting with placement and don’t want to commit yet, DIY is okay.
❌ When DIY Is a Bad Idea
- For heavy glass neon signs: These are fragile and expensive. A $5 adhesive hook won’t save you when 10 pounds of glass come crashing down.
- For long-term installs: Adhesives lose grip over time. If you want your sign up for months or years, invest in a proper kit.
- For uneven walls or outdoor spaces: DIY methods often fail in humidity, heat, or textured surfaces.
DIY vs Buying a Kit
- DIY cost: $5–10 (adhesive hooks, fishing wire).
- Proper kit cost: $10–30 (chains, hooks, anchors, wires).
- Replacing a broken sign cost: $150–500+.
So yeah. You can DIY it, and for some signs, it’s fine. But from 10 years of installs, here’s my advice: if the sign is valuable or you want it to last, spend the extra $20 on a kit. It’s a cheap insurance policy for peace of mind.
Conclusion
Hanging a neon sign might look tricky at first, but with the right neon sign hanging kit it’s actually pretty straightforward. Remember: safety always comes first. Take a few extra minutes to double-check anchors, hooks, and weight capacity, and your neon sign will stay glowing for years to come.
At the end of the day, your neon sign isn’t just décor. It’s part of your story. Installing it the right way makes sure that the story shines bright, exactly the way you envisioned.